After all the beta releases that came with many improvements over the course of last few months, final version of macOS Sierra is now available to general public. And if you have avoided getting on one of the betas all this time just to install the macOS sierra 10.13 final version on your device, it’s about time that you have it on your Mac and enjoy all the new features that it comes with.
Jump To Section:
It is advised that you start afresh and go with a clean install. And if you agree to the idea, then you can clean install the latest macOS High Sierra 10.13 on your machine by following the simple instructions given below.
Before The Installation:
Before you get on with the macOS sierra 10.13 installation, there are a few things that you need to take care of.
- First, ensure that all your important files and data is backed up to a safe location so that nothing gets lost in this process. You may have years of important documents on your Mac and it would be nothing less than a disaster if you lose them during the installation process. A good option is to always set your Mac up for Time Machine backups. You can then restore your mac from backup in case if something goes wrong in the process.
- Secondly, it is important that you have a compatible Mac for the installation to go successfully. For this you can check out the list of macOS 10.13 High Sierra compatible macs to find out if your machine qualifies for the installation or not.
How You Can Clean Install macOS Sierra 10.13?
Here are the steps that you will have to follow for a clean installation of the latest macOS from Apple.
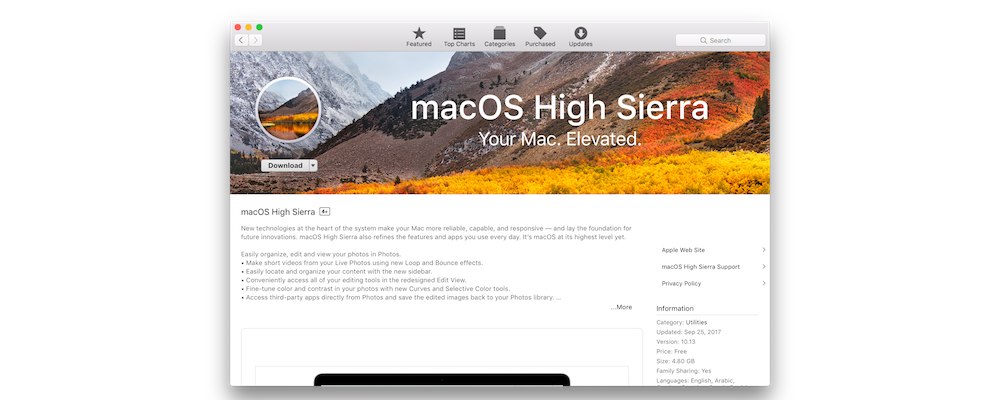
- First of all, download the final version of macOS Sierra 10.13 from Mac App Store. If you have not downloaded any macOS/OS X version in the past, an installer will first be downloaded to your machine that can then take you through installation process. Once downloading has finished, you’ll have to quit the installer and get out.
- As the installer is needed for something different that you want, you’ll be using it for creating bootable USB through which you’ll be fresh-installing the new macOS directly on your machine. It means that you won’t be upgrading from an existing installation like El Capitan or Sierra rather it will be a completely fresh installation.
- When you have the bootable USB ready, boot the mac you want to install the OS on from cold start and make sure that USB drive is already plugged in. And when your Mac boots up, you should press Option key in launch process to enter a new menu from where you can be able to select the device that you’d like your Mac to boot from. Select the bootable USB that you have plugged in already and press Enter to proceed further.
- After some checks and processes are run by your Mac, you’ll be able to see macOS Utilities menu on the screen. Select the Disk Utility option here and then hit Continue for proceeding further.
- As soon as Disk Utility loads up, ensure that you have selected main hard drive of your Mac from left side and click Erase button afterwards. Keep the name of HDD as “Macintosh HD” while the selected Format should be “Mac OS Extended (Journaled)”. Click on Erase button once more to erase the drive completely.
- After the last step is completed, current installation will be erased and there won’t be any functioning OS on your Mac. As a result, you will again see macOS Utilities menu on the screen. Now, just select the Install macOS option and click on Continue.
- When the new window shows up, click on Continue and then select Macintosh HD option as that’s the hard disk drive on which you have to install the new macOS. After that, simply click Install.
That’s all, it will initiate the clean installation process on your Mac. As the installation process proceeds, the installer will update your Mac’s file system automatically to new APFS in case if your Mac features SDD rather than a standard Fusion drive or a mechanical HDD.
So, even if you are happy to keep whatever you already have, install the latest macOS Sierra 10.13 on your mac to keep it up-to-date. It offers you plenty of new worth having features and, therefore, your mac really deserves a fresh, clean installation. Just follow the steps give above and give your mac exactly what it needs.